I thoroughly love chatting with others in the creative small business world and was honored when Erin Alexander, the host of the Product Powerhouse Podcast, asked me to chat all about my business journey and product photography. Erin is the owner of Product Powerhouse where she helps shop owners with wither Shopify websites. On her podcast she interviews shop owners and industry professionals that are in the product sale world.
DIY Product Photography Tips
Many of her listeners and clients are just starting their business and not in the financial position to hire photographer to professionally take their product images, so she asked me to provide her audience with some actionable tips on to how to do some great DIY product images. Here are some of my favorite tips to keep consistent…remember that CONSISTENCY IS KEY!!
Foam core
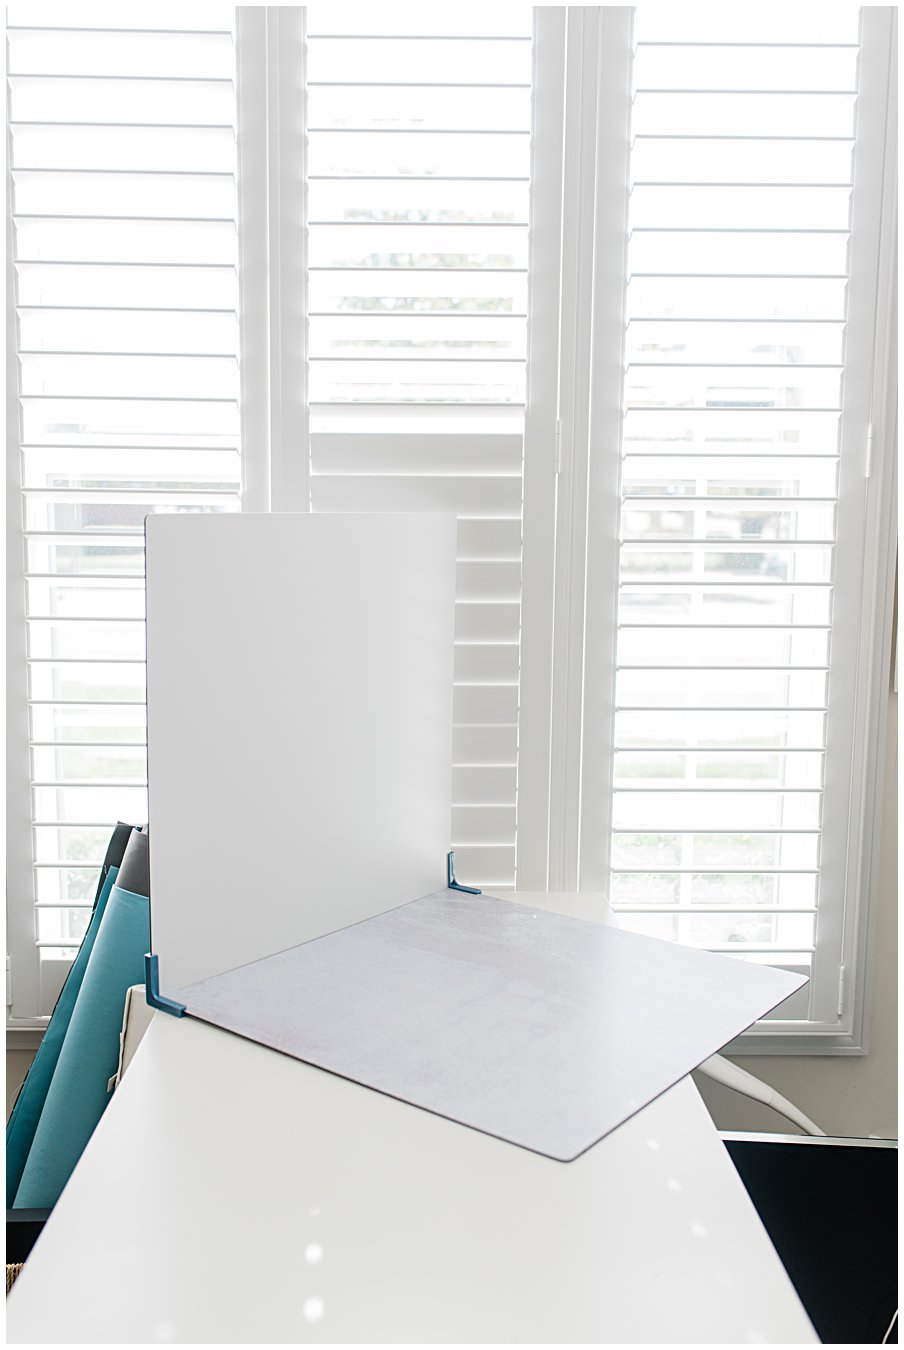
Go to the art supply store and buy three pieces of white foam core, at least 16″x20″ pieces depending on the size of your product. One will act as your surface, one your background, the other a light reflector. This is your mini-studio set up and can be bought for under $20. Of course you can use other colors for your backdrop and surface, but this the easiest, cheapest, and cleanest way to start. If you want to uplevel your product photography, with different surfaces and backgrounds, I love Replica Surfaces.

Find a big window
Look around your home and find a big window that has the best even light and note the time of day that the window is sunny, but not harsh, and do your product photos at the same time of the day. This will ensure that your images look consistent. Great light is the key to great photography, whether you’re using your iPhone or a big fancy DSLR camera…light is key!
Props
This is where I say keep it simple, remember that the image is all about your product and not the props. If you’re want to add props, 1. make sure that they are within the context of your photo…it has to make sense that it’s something that belongs in the picture with your product, 2. keep in mind scale, your prop shouldn’t over-power your product.


Editing
I love the Lightroom Mobile editing app, it’s free and so powerful. There are tons of presets that you can buy for Lightroom mobile, so I suggest finding the one that suits your style best and apply it to every photo (my favorites are Refined Mobile Presets). Keep in mind that you want to present your product as it actually is, especially the colors.

When it’s time to hire a professional
Many of my product clients are at about the 2-5 year mark when they have found that they are wanting to take their business to the next level. They have found that they need to outsource parts of their workflow and product photography is one that takes too much of their time and they aren’t getting the results that they’re wanting. When you’re finding yourself in this position, it’s time to hire a professional!
Keep in mind when hiring a professional photographer that they have a timeline that they’re working with to give your the best possible images. Take a look at your calendar and launch date and back it up at least 6-8 weeks to make time for production of your sample products, product photography, marketing items, and launch materials. These all take time, especially if you’re doing everything very intentionally. If you are ready to take your product images to the next level, check out my product photography offerings or become a part of the Kia & Co. Product Collective.
Extra Resources
If you’re looking for more resources for your product based business, check out a few downloads and resources here:
Product Photography Checklist
E-Commerce Website Product Photography Blog
E-Commerce Website Product Photography Workbook
